MCP
MCP (Model Context Protocol) connects external capabilities such as file systems, browser automation, memory, and databases to Agents. ZCode manages the MCP server configuration used by ZCode Agent in one place.
Once common MCP servers are configured, ZCode Agent can use project files, browser automation, memory, and other tools more smoothly during long-running development tasks. It is also well adapted to the GLM 5.3 model family for multi-step coding workflows.
List Groups
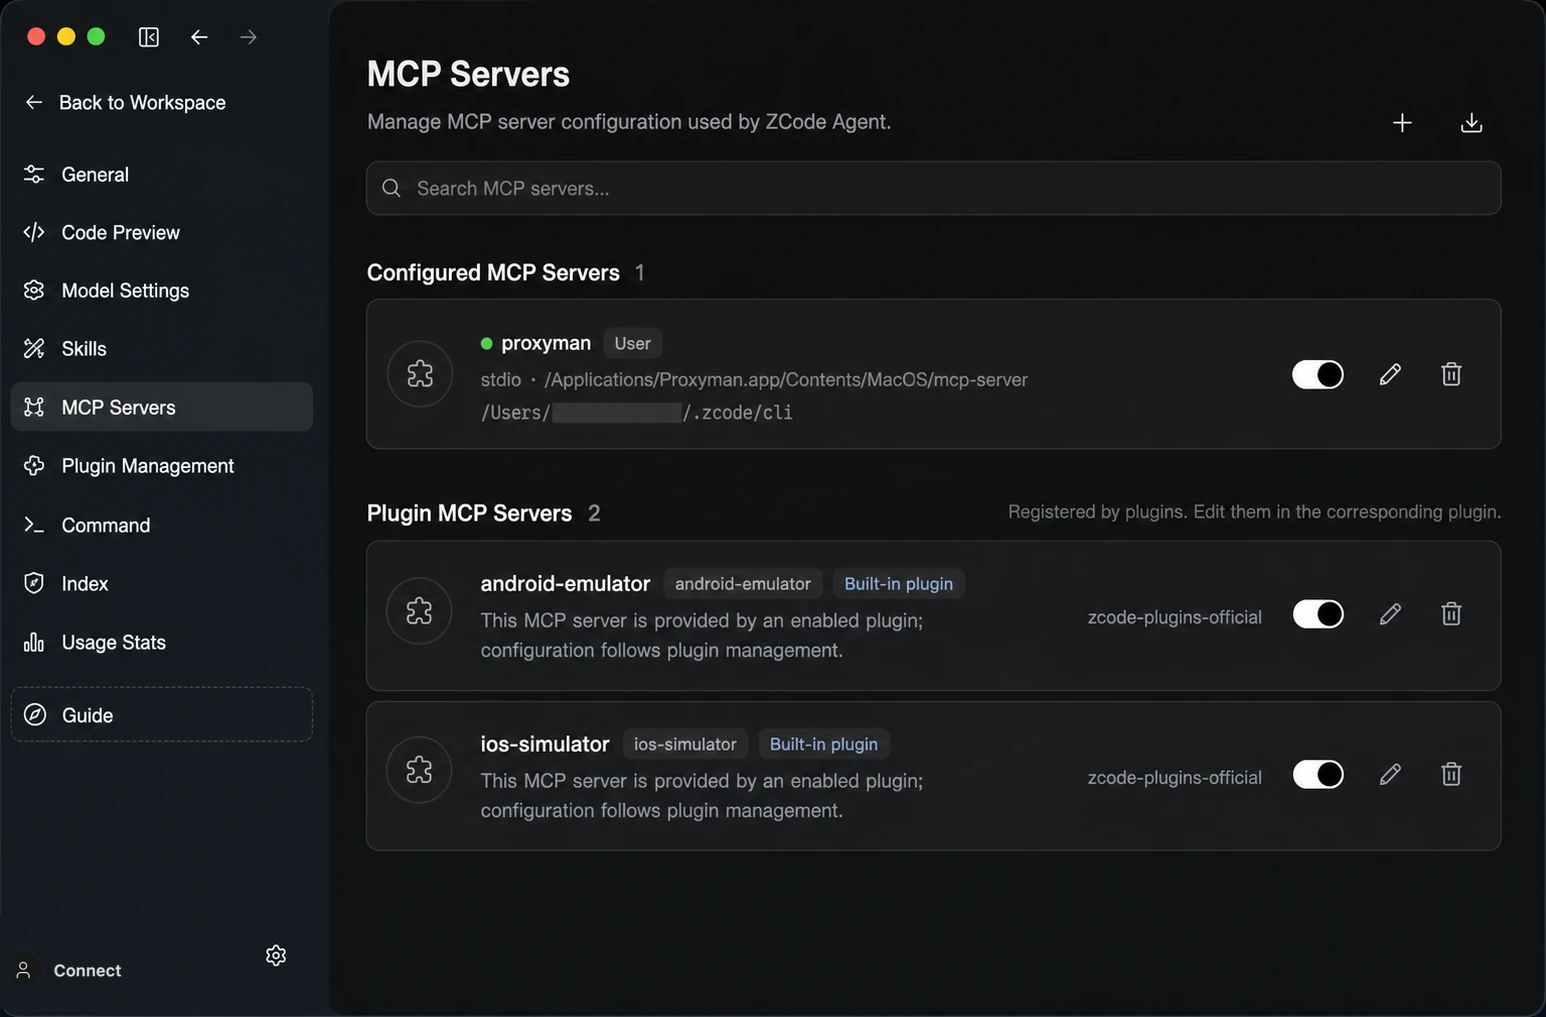
The MCP list is organized into two groups by source:
- Configured MCP servers: Servers you added manually. You can edit, delete, enable, or disable them directly.
- Plugin MCP servers: Servers installed together with plugins, managed by the corresponding plugin.
Each MCP row shows the name, source, transport, and command.
Create An MCP Server
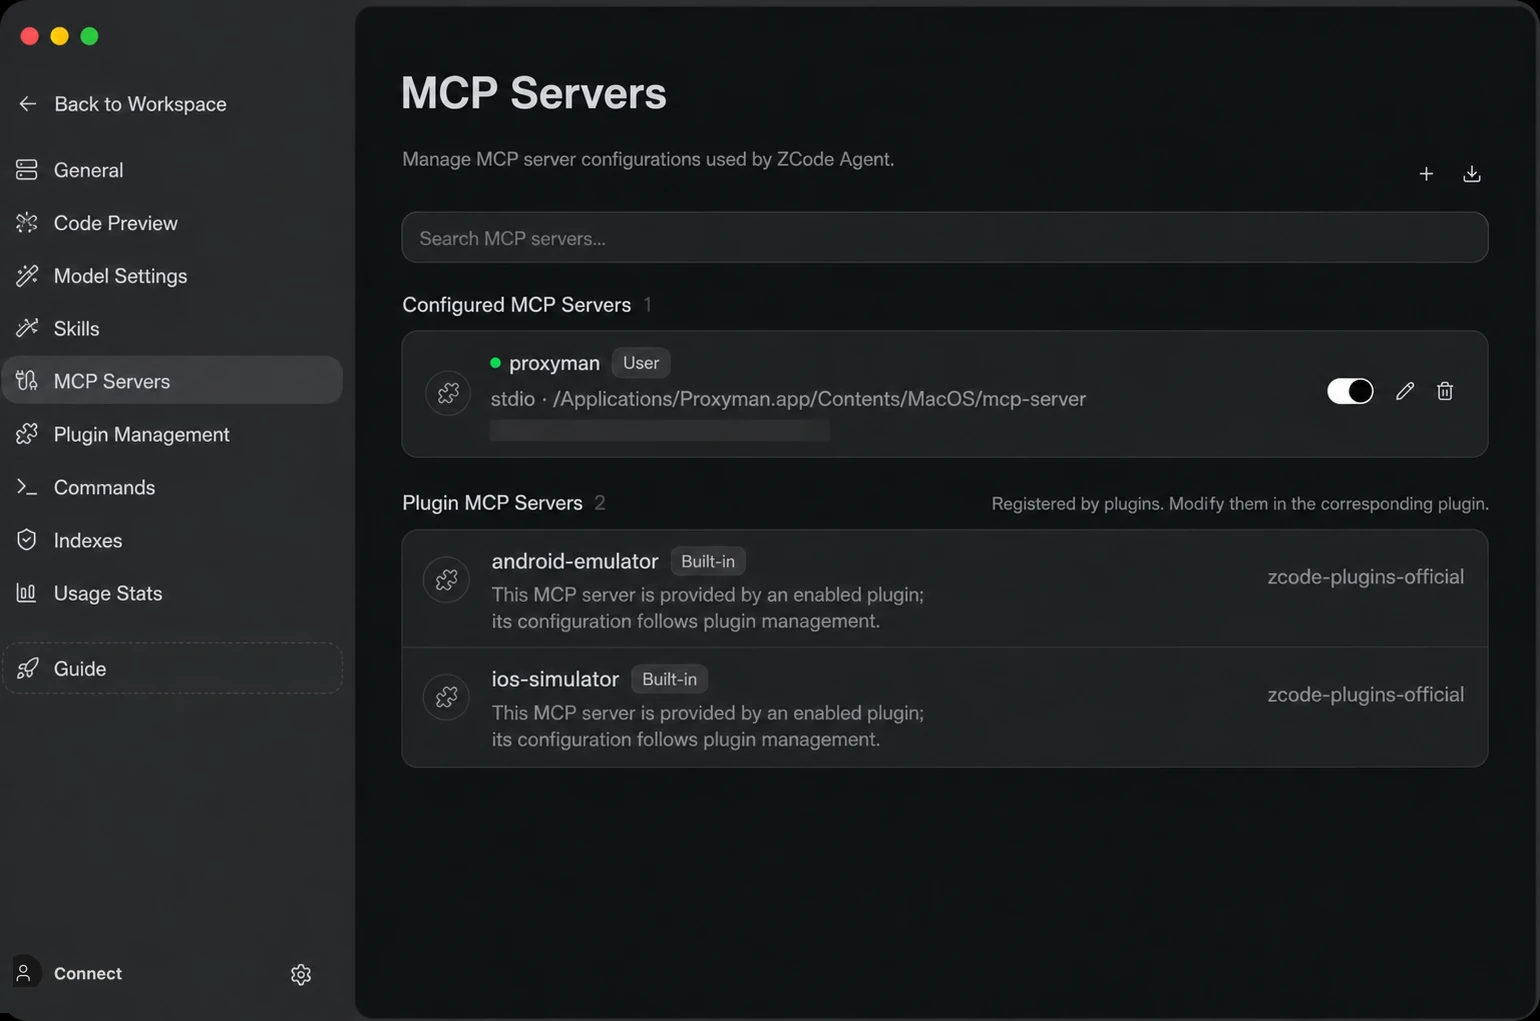
Open Settings -> MCP Servers, then click New MCP Server in the upper-right corner. Form mode is the fastest way to add common stdio servers:
- Choose a Scope: User (available in all workspaces) or Workspace (current project only).
- Enter a name, such as
memory. - Keep the type as
stdio(SSE and HTTP remote servers are also supported). - Enter the command, such as
npx, and arguments, such as-y @modelcontextprotocol/server-memory. - If the server needs keys or paths, expand Environment variables and add them there.
- Click Add, then confirm the server is enabled in the list.
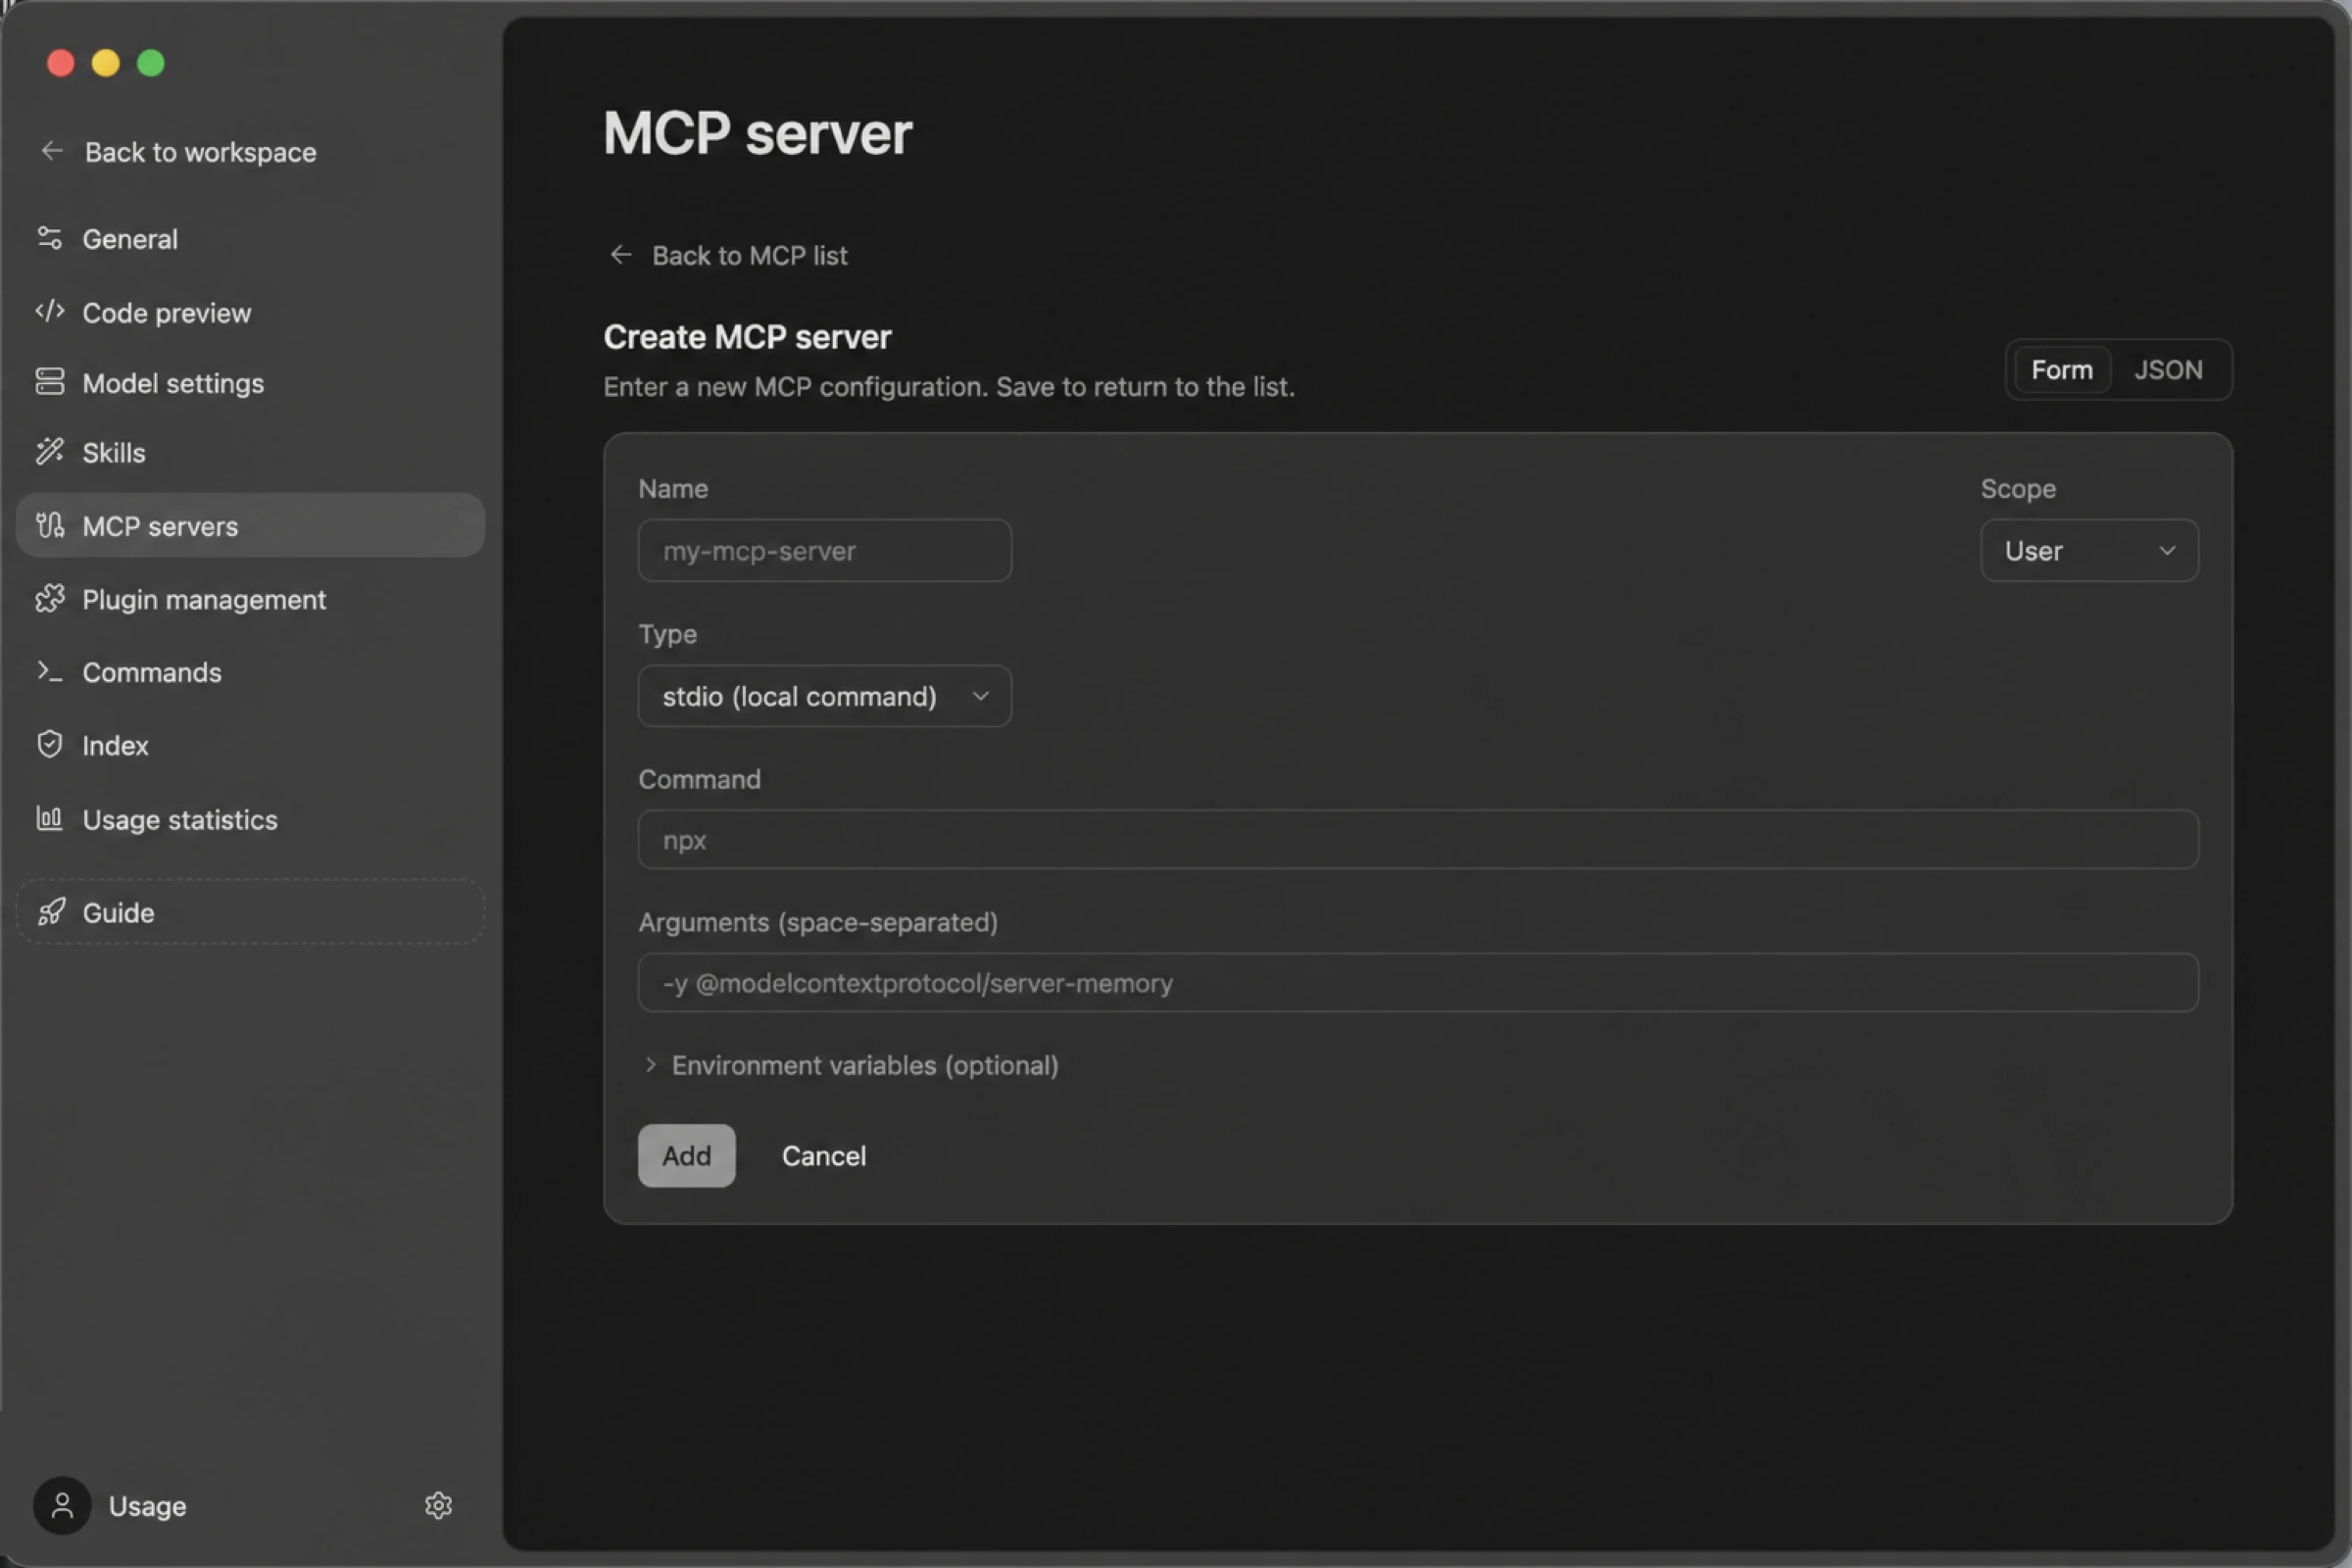
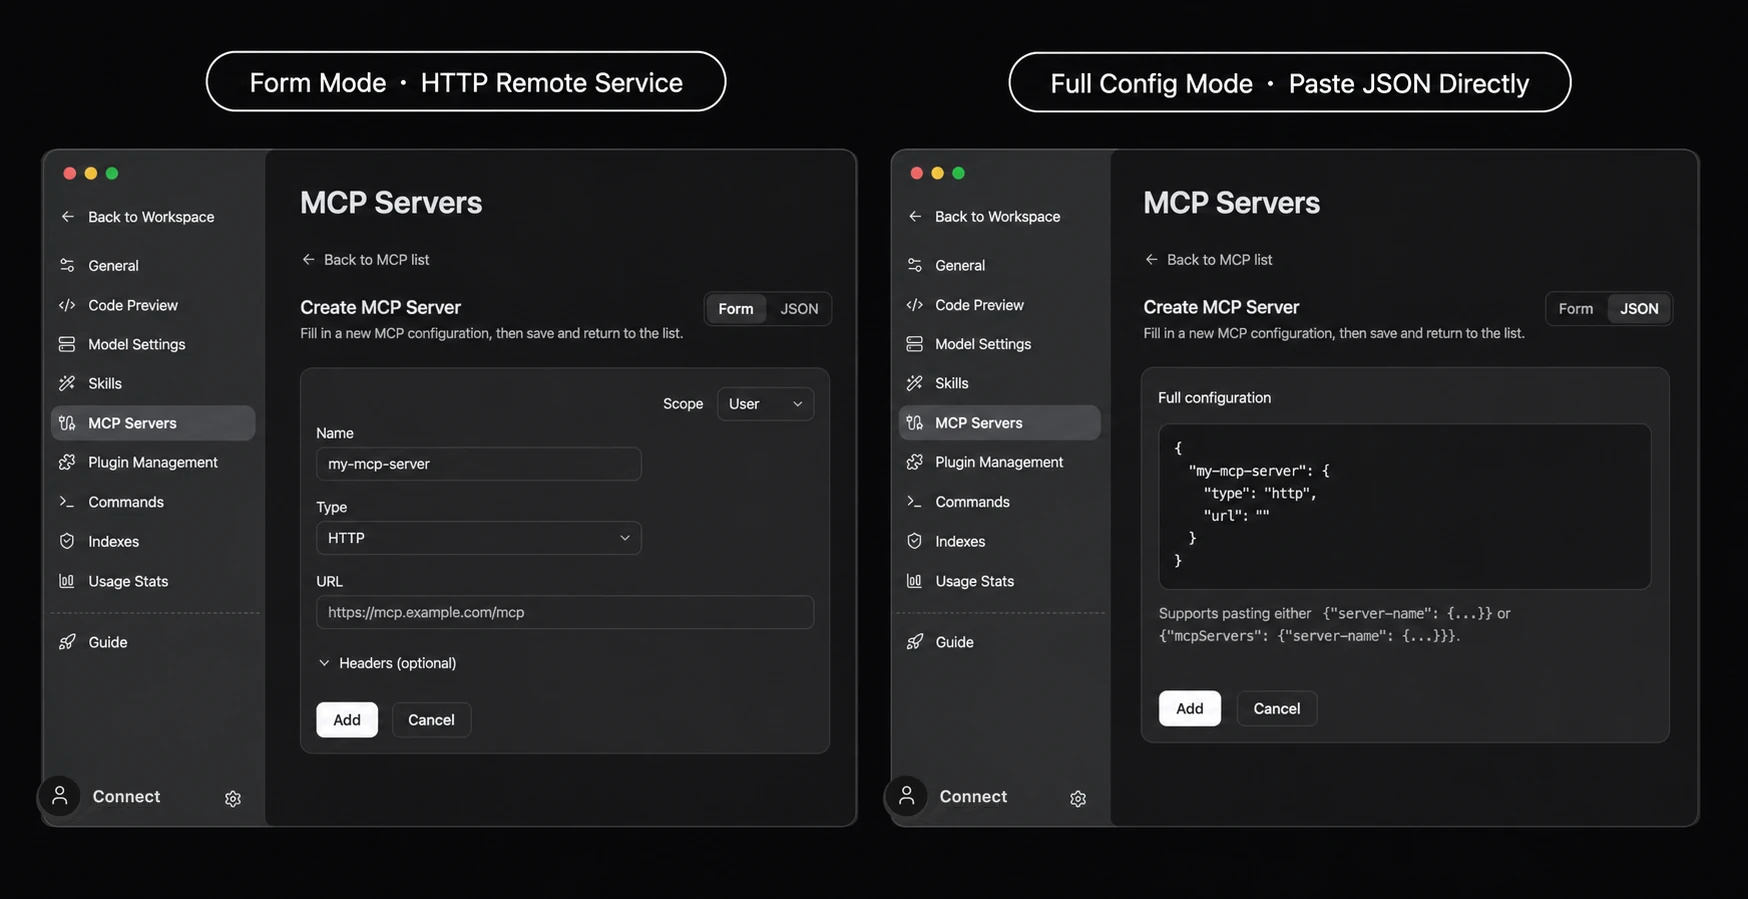
In addition to local stdio commands, ZCode also supports two other entry modes. For remote services, choose HTTP or SSE and enter the service URL; if the service requires authentication, expand Headers (optional) and add fields such as Authorization. If you already have a JSON configuration, switch to Full configuration mode and paste it directly. ZCode accepts both {"server-name": {...}} and {"mcpServers": {...}} style structures.
Services That Require OAuth
Some remote MCP services — Figma's official MCP among them — don't accept a static key and ask you to sign in instead. Enable OAuth for the service in its configuration and ZCode takes care of the rest.
The flow needs one click from you: when the service responds that authorization is required, an Open authorization button appears on that server's row under Settings → MCP. Clicking it opens the authorization page in your system browser; once you approve there, ZCode retrieves the token, reconnects, and loads the tools. ZCode never opens a browser window on its own.
MCP servers provided by plugins support this too, showing "Authorization required" on their row.
A couple of details: this applies to HTTP and SSE remote services only — local servers still get their credentials through environment variables. If authorization doesn't come through in time when a session starts, ZCode marks that one server as failed and carries on rather than holding up the session. And if the service address or its sign-in settings change, you'll be asked to authorize again.
Import From An External Agent
If you already configured MCP servers in external Agents such as Claude Code, Codex CLI, or OpenCode, there's no need to recreate them one by one in ZCode. On the MCP Servers page, click the Import icon in the top-right corner. ZCode scans those external Agents' configuration files and lists their existing MCP servers so you can import them in one go.
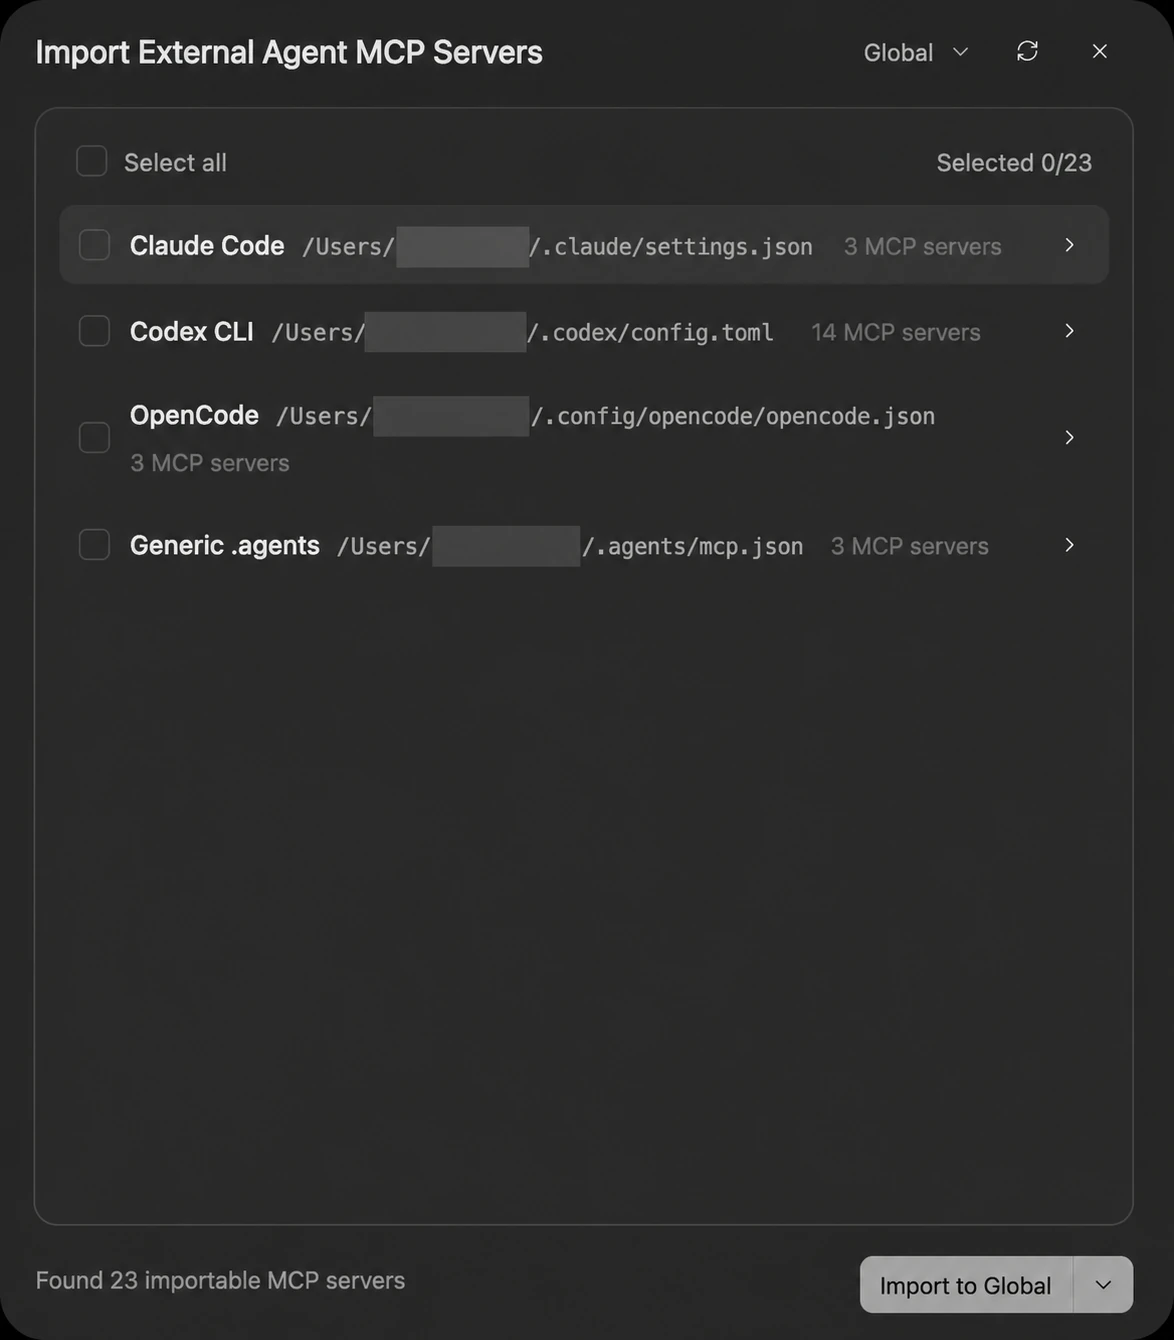
ZCode discovers importable MCP servers from the following sources:
- Claude Code:
~/.claude/settings.json - Codex CLI:
~/.codex/config.toml - OpenCode:
~/.config/opencode/opencode.json - Generic
.agents:~/.agents/mcp.json
Steps:
- Open the MCP Servers page in ZCode settings.
- Click the Import icon in the top-right corner to open the "Import external Agent MCP servers" dialog.
- Choose the import scope (global or the current workspace) in the upper-right of the dialog.
- Select the servers you want, or click Select all; the dialog shows the number of importable and selected servers in real time.
- Click Import to finish. The servers appear in the list and are enabled by default.
Imported servers are stored in the .zcode configuration file of the chosen scope, just like ones you added manually. You can keep editing, enabling, disabling, or deleting them inside ZCode, and the original external Agent's configuration files are left untouched.
Configuration Files and Default Load Paths
The settings panel is only one entry point. ZCode reads MCP configuration files from a fixed directory convention, so you can also edit these files by hand to manage servers in bulk:
| Scope | File path | Config key |
|---|---|---|
| User (available in every workspace) | ~/.zcode/cli/config.json | mcp.servers |
| Workspace (current project only) | <project root>/.zcode/config.json | mcp.servers |
User · .agents compatibility | ~/.agents/mcp.json | mcpServers |
Workspace · .agents compatibility | <project root>/.agents/mcp.json | mcpServers |
Note: the user-level native config lives under
.zcode/cli/, while the workspace-level one sits directly under.zcode/. Both files are namedconfig.json, but at different levels.
The MCP section of ZCode's native config.json looks like this:
{
  "mcp": {
    "servers": {
      "memory": {
        "command": "npx",
        "args": ["-y", "@modelcontextprotocol/server-memory"],
        "env": {}
      }
    }
  }
}
.agents/mcp.json uses the industry-standard {"mcpServers": {...}} structure, so the same MCP configuration can be shared with other AI tools that follow the .agents directory convention.
Load Rules and Priority
- Workspace loads first: when a workspace opens, ZCode reads the workspace-scope configuration first and then the user scope; servers from both appear in the list.
.zcodewins within a scope: as long as any MCP server is read from a.zcodeconfig file, the.agents/mcp.jsonin the same scope is skipped entirely — no merging..agentsonly acts as a fallback when.zcodedefines no servers at all.- Enabled state is stored in the config object: disabling an MCP server in the list writes
"enable": falseinto that server's config object; without the field the server counts as enabled. - Panel writes always go to
.zcode: servers added or edited through the settings panel are always written back to the.zcodenative config of the matching scope;.agentsfiles are never modified.
Tip: if you maintain a set of servers in
.agents/mcp.jsonand then create a new server in the settings panel, the servers in.agentsstop loading because of the.zcode-first rule. Merge the.agentsentries into the.zcodeconfig file to fix this.
Workspace MCP Servers Connect Automatically
MCP servers declared in a project's configuration connect automatically at session start, exactly like user-level ones — no manual authorization each time. That's what lets a team commit MCP configuration to the repository and have it work for everyone who clones it.
That convenience comes with something to watch. Opening a project connects every MCP server listed in its configuration, and an MCP server can run commands, read and write your files, and reach the network. So before you open a repository from a source you don't know, take a look at its .zcode/config.json and check you recognize the MCP entries.
If a project and your own settings use the same name, yours wins — a project can never override your configuration.
Recommended Setup
These Zhipu-related MCP servers are the recommended starting point — click each one to open the official Zhipu docs for the full description and setup steps:
zai-mcp-server: Adds visual understanding so the Agent can analyze images, screenshots, and interface context.web-search-prime: Adds web search so the Agent can retrieve up-to-date external information.web-reader: Adds webpage reading so the Agent can parse page content, structure, and key details.
These services usually require a Zhipu API Token. For team usage, place shared services under the User scope and project-specific servers under the Workspace scope to keep configurations clean.